How to create a Windows 2003 Simple Volume
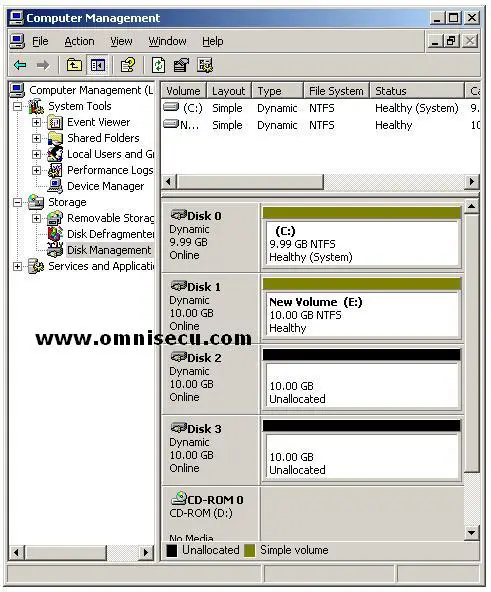
Almost all disk management functions can be performed using Disk Management MMC snap-in. Disk Management MMC snap-in is available as an extension to the Computer Management MMC snap-in. To open the Computer Management MMC snap-in, right click My Computer and select "Manage" from the context menu. Expand Storage node and select "Disk Management". If you want to open Disk Management MMC snap-in as standalone, type diskmgmt.msc inside the run dialog box and hit "Enter".
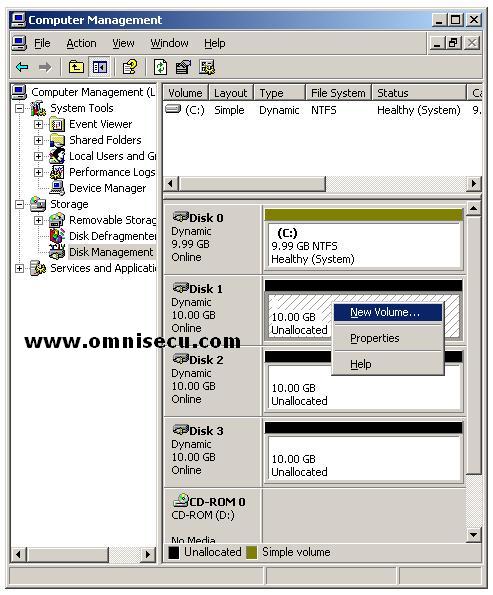
1) Right click the disk on which you want to create the new volume, and selet new volume from the context menu.
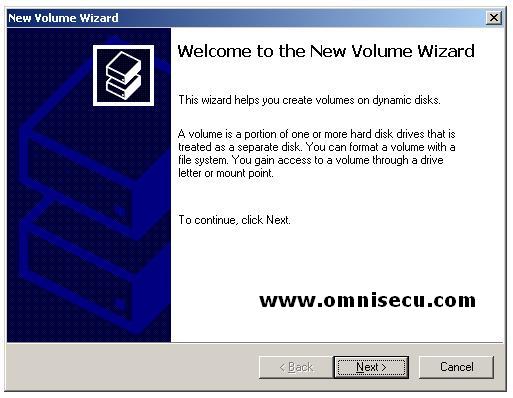
2) In the "New Volume Wizard", click next to continue.
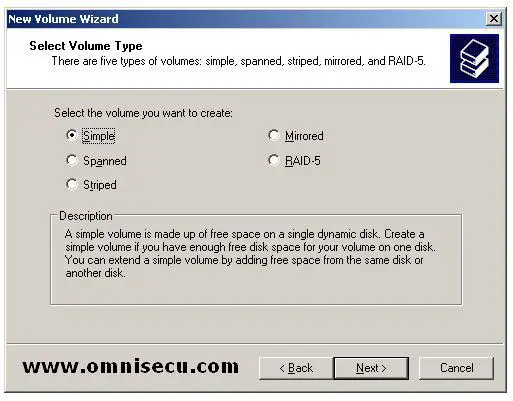
3) To create a Simple Volume, select Simple radio button in "Select Volume Type" screen, as shown below. Click "Next" to continue.
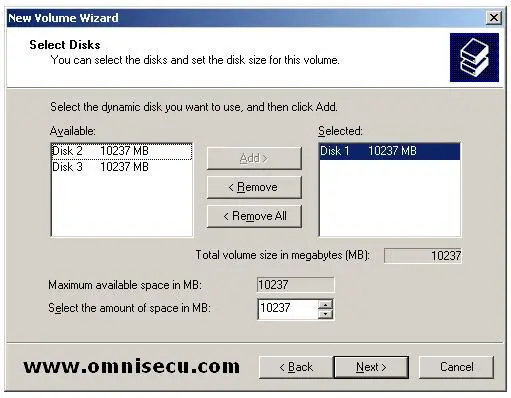
4) Select how much storage size you require from this disk in "Select Disks" screen. Since a simple volume can occupy space from only a single disk, you cannot add space from another disks. After selecting the volume size, click "Next" to continue.
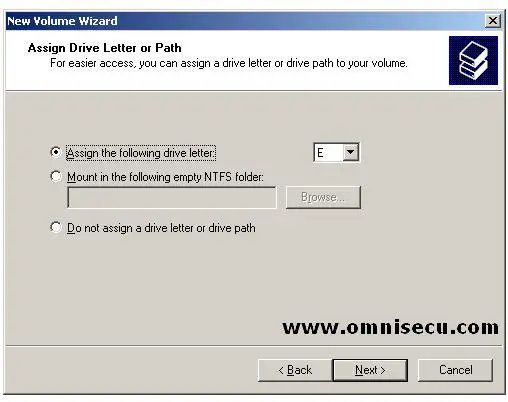
5) Select the drive letter to use or path in "Assign Drive letter or Path" screen. Here we have selected the Drive letter as "E". Click "Next" to continue.
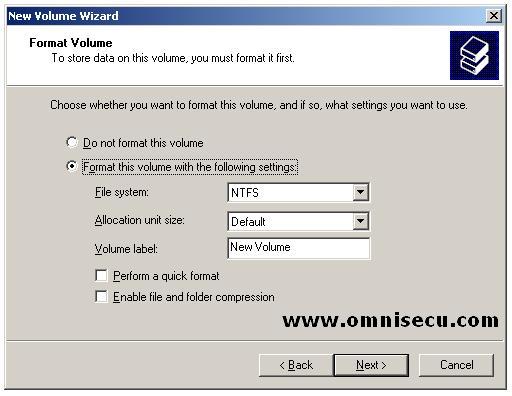
6) If you want to format the volume, you can do it in "Format Volume" screen. The options for formatting the volumes are also available in this screen. Click "Next" to continue.
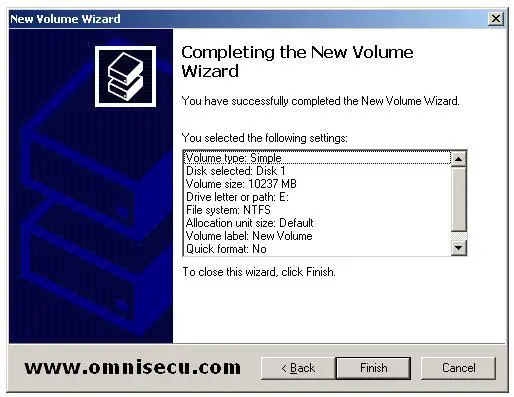
7) Click "Finish" in the "Completing the New Volume Wizard" to create the volume and start formatting it.
8) New Simple volume is created and listed inside Disk Management MMC console as shown below.