How to install Cisco ACS (Secure Access Control Server ) 5.4 on VMware Workstation
Following installation is a Cisco Secure ACS 5.4 installation on a VMware workstation. The purpose of this lesson is only to learn how to install Cisco Secure ACS 5.4 installation and how to connect it from other machines using Microsoft Internet Explorer browser.
VMware workstation version which I am using for the below lab is 8 and the Host Operating System is CentOS Linux. On top of CentOS Linux Host Operating System, we are now creating a CentOS Guest Operating System for Cisco Secure ACS 5.4.
You may be wondering what is the relation between CentOS Linux and Cisco Secure ACS 5.4? Well, what I believe is Cisco Secure ACS 5.4 is a hardened, trimmed, "made for security" version of CentOS Linux (CentOS Linux is a "trademark removed" version of RedHat Enterprise Linux made from RHEL source code), with the components only required for Cisco Secure ACS 5.4. Cisco Secure ACS 5.4 doesn’t even show you the bash shell, but a Cisco IOS CLI similar shell.
If you know the concepts of virtualization, the following steps are almost identical in different virtualization platforms.
Create a Virtual Machine for Cisco Secure ACS 5.4
Step 1: Click "File" menu in VMware workstation and select "New Virtual Machine..." from the "File" menu.
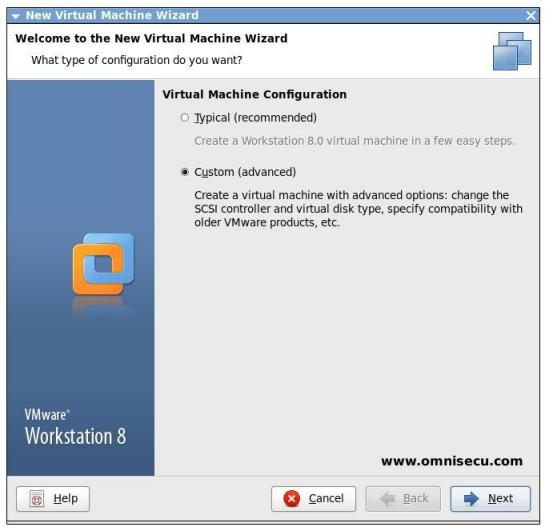
Step 2: In "New Virtual Machine Wizard", click "Next".
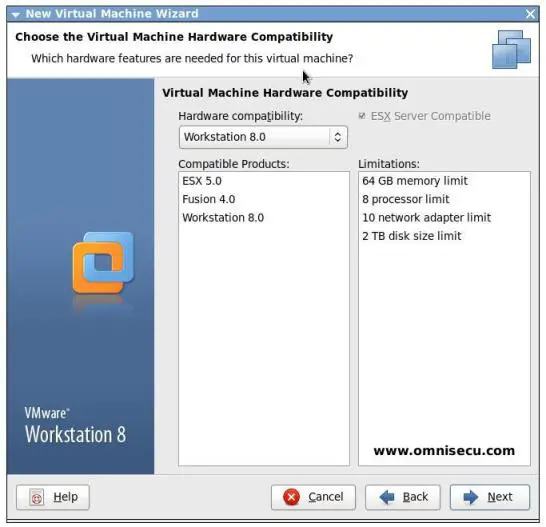
Step 3: In VMware virtual machine hardware compatibility page, select the required compatibility. I have selected the default values in this case. Click "Next".
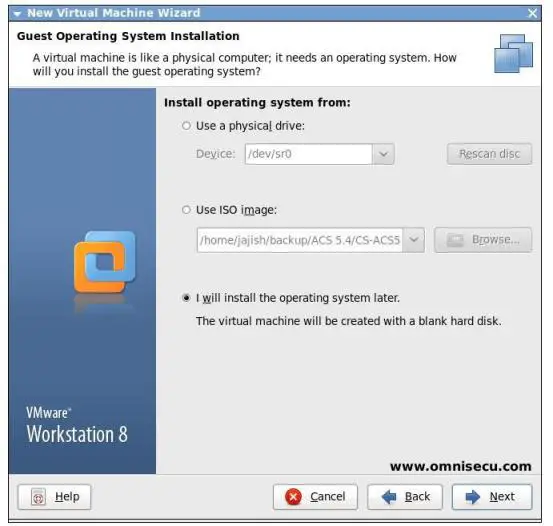
Step 4: In the "Guest Operating System Installation" screen, select "I will install the operating system later" and click "Next".
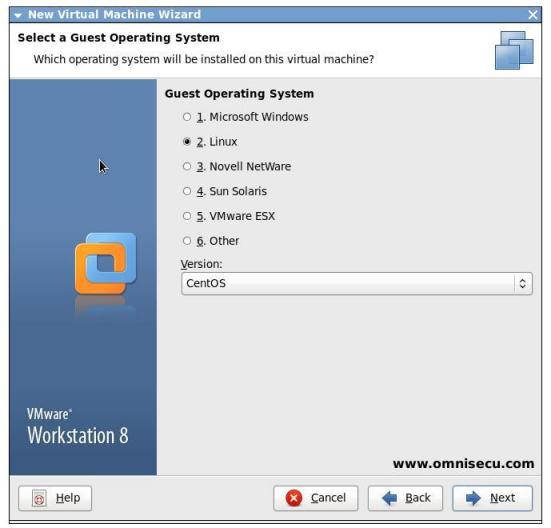
Step 5: In the "Select a Guest Operating System" screen, select Linux as the Guest Operating System and Version as CentOS, as shown below. Click "Next"
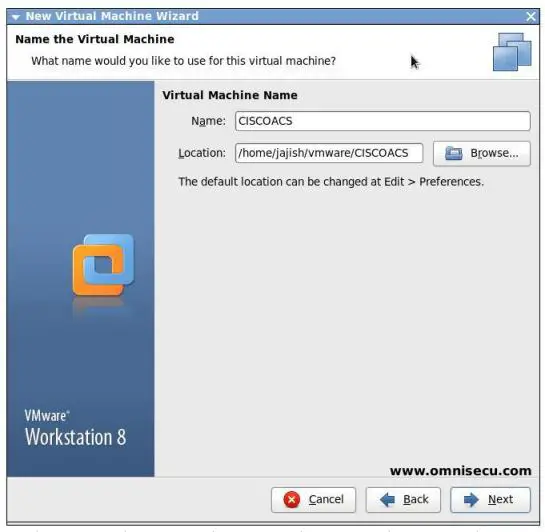
Step 6: In "Name the Virtual Machine" page, enter the name of the new Virtual Machine and select the location to save the Virtual Machine.
This screen and path location may look different if you are using a Windows Operating System. Enter the name and path according to your requirements. The name which I have given in "CISCOACS" and the path is /home/jajish/vmware/CISCOACS. Remember, Windows File System hierarchy is different than Linux File System hierarchy.
Click "Next".
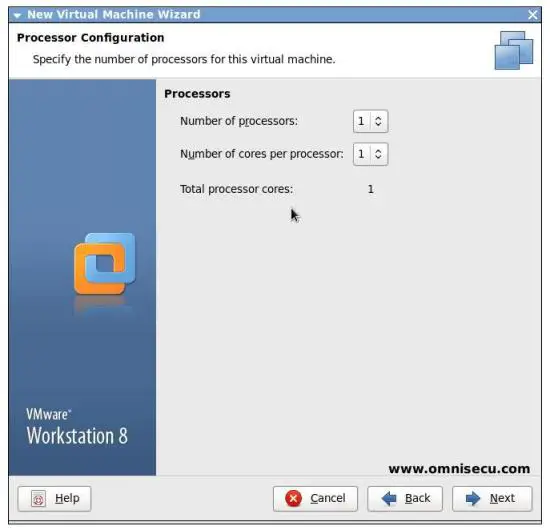
Step 7: Select the Virtual Machine processor related settings. Click "Next".
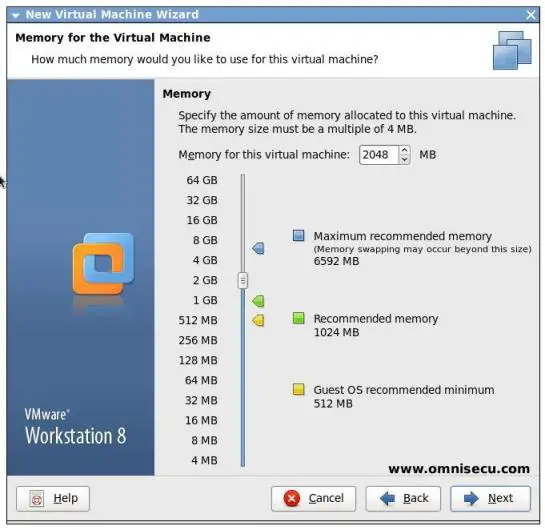
Step 8: In "Menory for the Virtual Machine" screen, select the memory for the new Virtual Machine. I have selected 2 GB for the Cisco Secure ACS 5.4 virtual machine. Click "Next".
Step 9: In "Network Type" screen. select "Use bridged networking". Bridged networking will allow the virtual machine to use its IP address and to reach the outside network using Host machine's network card.

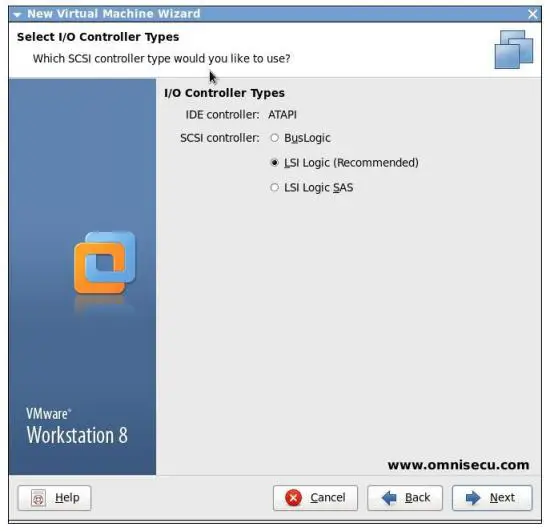
Step 10: In "Select I/O Controller Types" page, select the default settings and Click "Next".
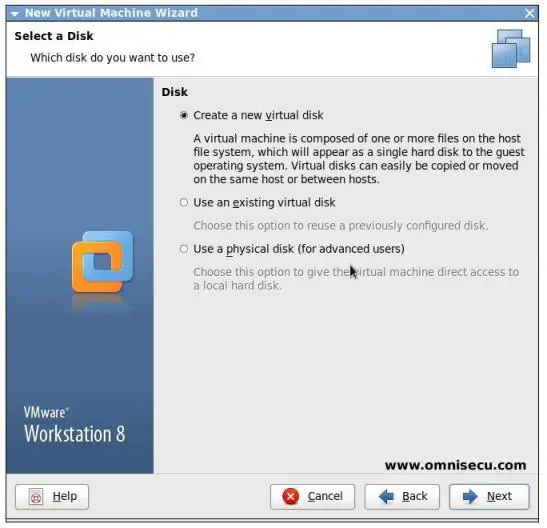
Step 11: In "Select a Disk" screen, select "Create a new virtual disk" and Click "Next".
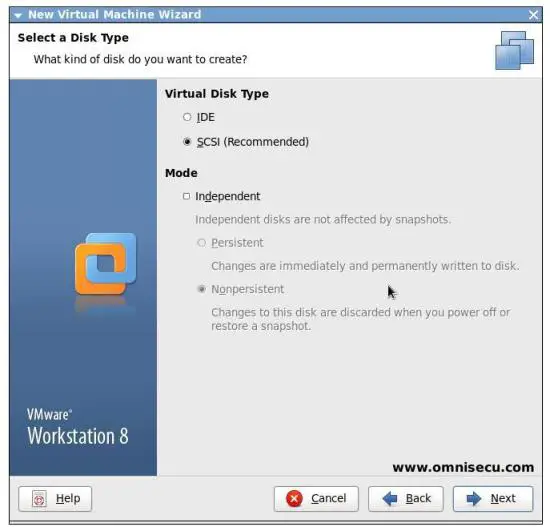
Step 12: In "Select a Disk Type" page, select "SCSI" and Click "Next".
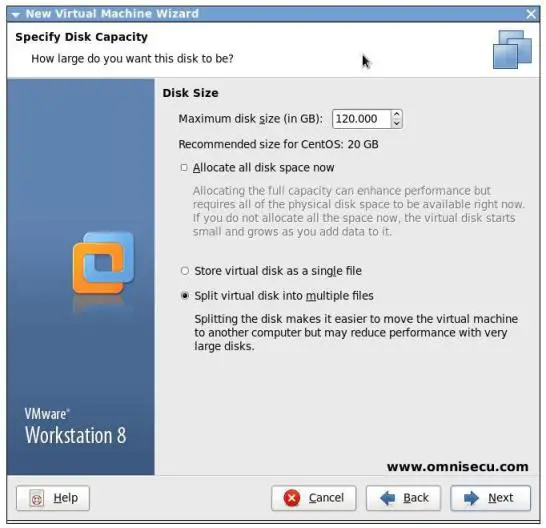
Step 13: In "Specify Disk Capacity" page, enter the capacity of Virtual Hard Disk required. Click "Next".
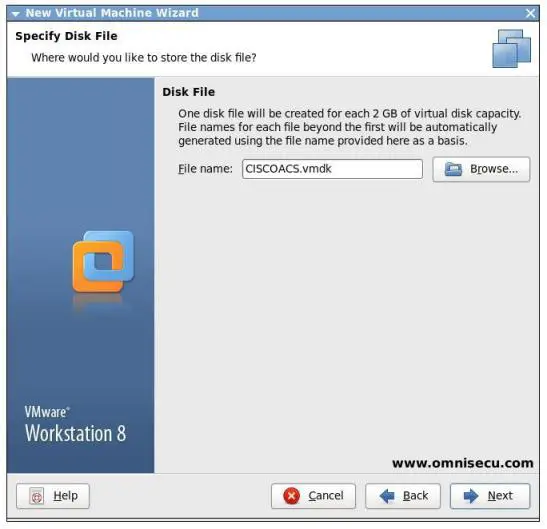
Step 14: In "Specify Disk File" page, select the name of the virtual hard disk file. Click "Next".
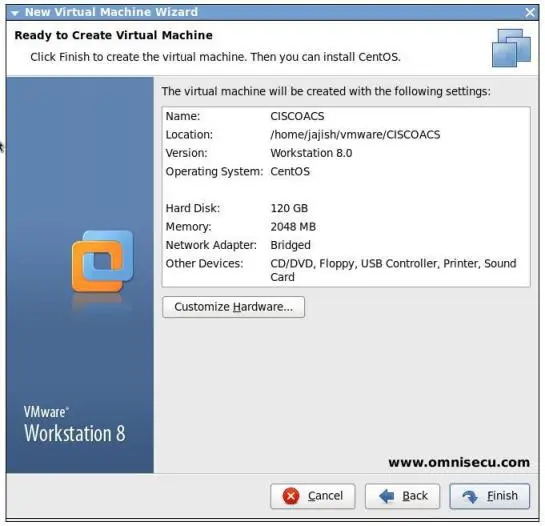
Step 15: In "Ready to Create Virtual Machine" screen, you can review your selections. Click "Finish" to create virtual machine for installing Cisco Secure ACS 5.4.
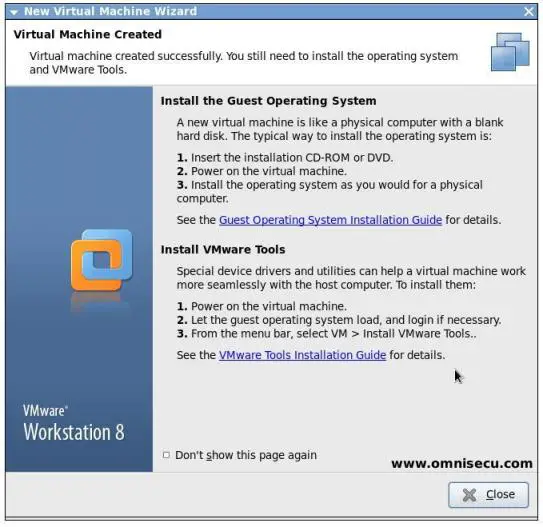
Step 16: You can now see the success message stating that the virtual machine is created, as shown below. You have susccesfully created a VMware virtual machine.
Step 17: Next step is to install Cisco Secure ACS 5.4 Operating System in the new virtual machine we have created. Follow these steps to install Cisco Secure ACS 5.4 in new virtual machine.
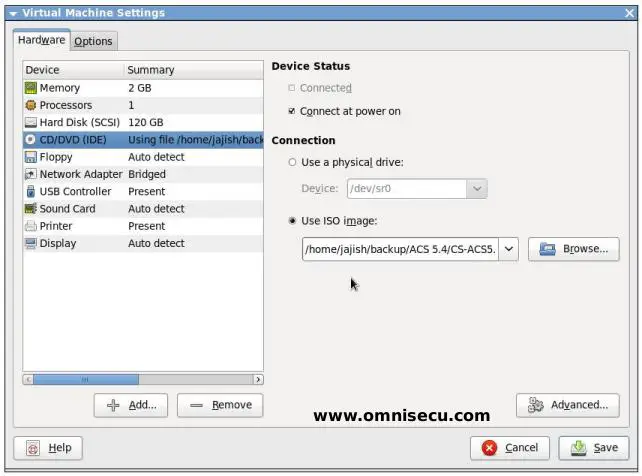
Mount the virtual machine DVD with Cisco Secure ACS 5.4 ISO image as shown below and configure the virtual machine to boot from DVD. Power-on the virtual machine.
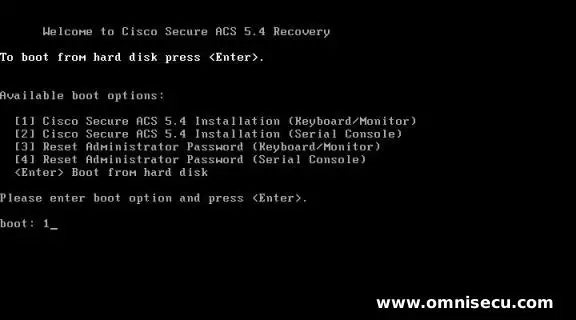
Step 18: From the list of boot options, select option 1, that is Cisco Secure ACS 5.4 installation.
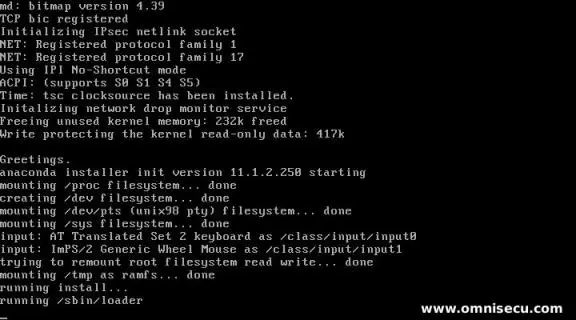
Step 19: We can see that the installation will begin as shown below.
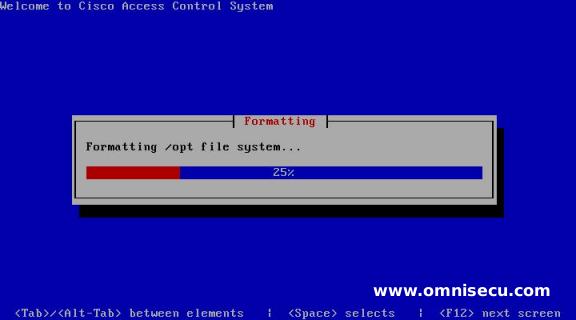
Step 20: Now the installation setup will start formatting the file systems, which you can see as below.
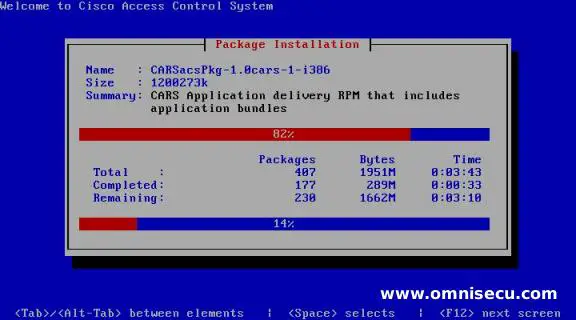
Step 21: Now the required packages are getting installed on Cisco Secure ACS 5.4 as shown below.
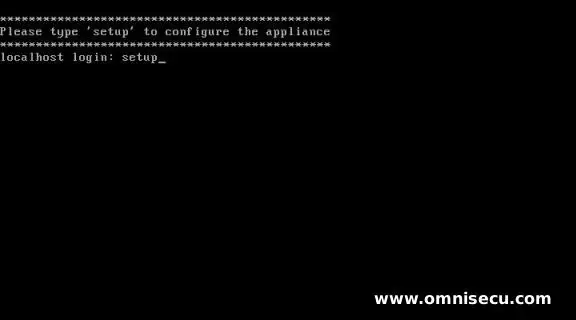
Step 22: In the initial screen, type setup for initial configuration.
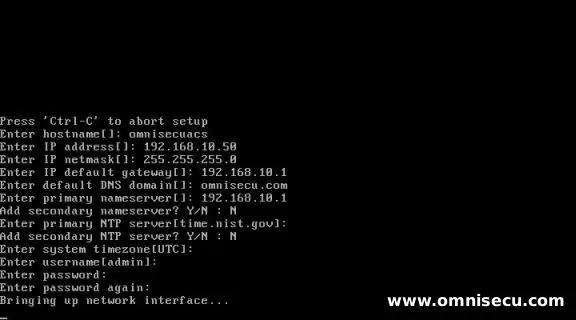
Step 23: Enter the IP address, Subnet mask, Domain name, Default Gateway etc for the Cisco Secure ACS 5.4 machine, as shown below.
Step 24:Once the configuration is over, in the login screen, enter the default username admin and the password which you have configured in previous step to login.
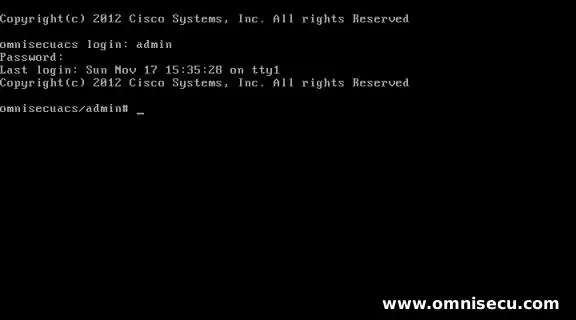
You have successfully completed the Cisco Secure ACS 5.4 installation.