Introduction to Windows 2008 Server Core
Windows 2008 Server Core installation is almost same as normal installation. The following steps will guide you through the installation process.
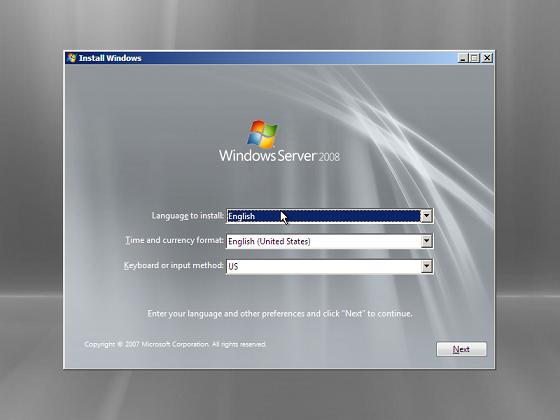
1) To install Windows 2008 Server Core, boot the computer with Windows Server 2008 DVD. In the first screen, select language time and currency formats and keyboard. Click "Next" to continue. Click "Install Now" in next screen of Windows 2008 Server Core installation setup.
2) Enter the Windows 2008 key in next screen to activate your Windows 2008 Server Core installation. Click "Next" to continue.

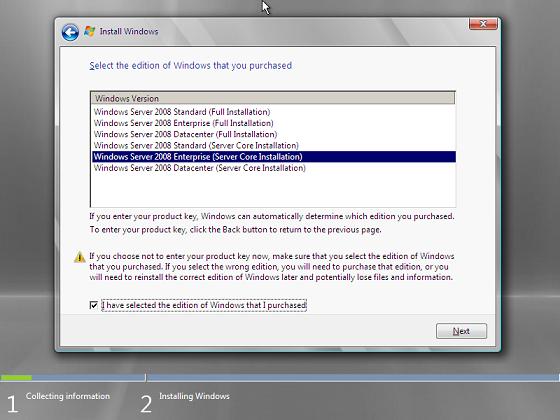
3) You will be presented with a list of available installation editions in the next screen. Select the one which you are licenced. Check the check box below and click "Next" to continue.
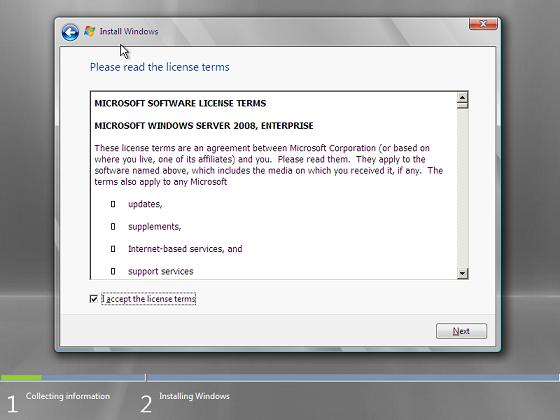
4) Accept the license terms of Windows 2008 Server by checking the check box and click next to continue.
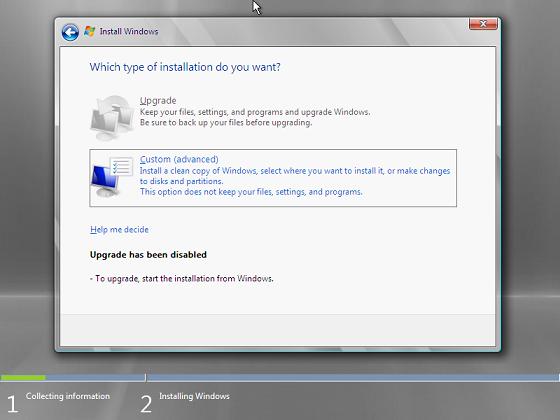
5) Select the type of Windows 2008 Server Core installation. Upgrade is disabled.
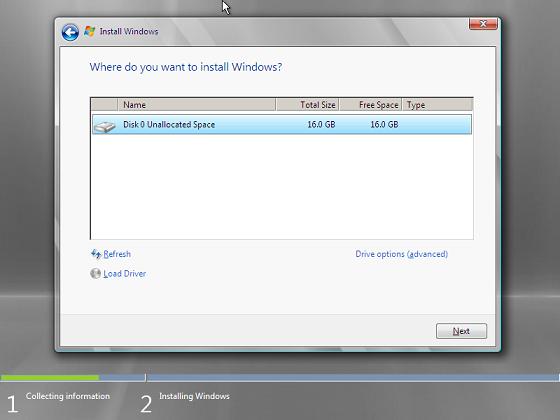
6) Select and format the disc space for the installation in next screen. Click "Next" to continue.
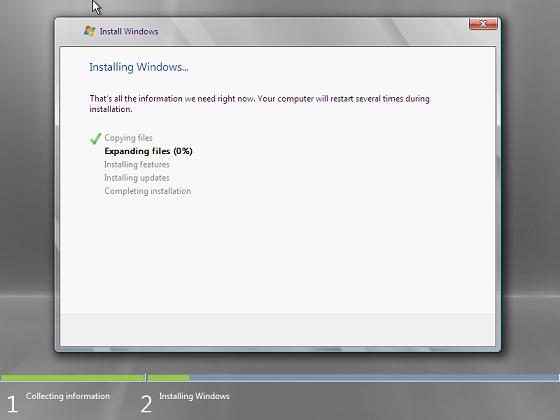
7) Windows will begin the Windows 2008 Server Core installation process and the progress you can watch in next window.
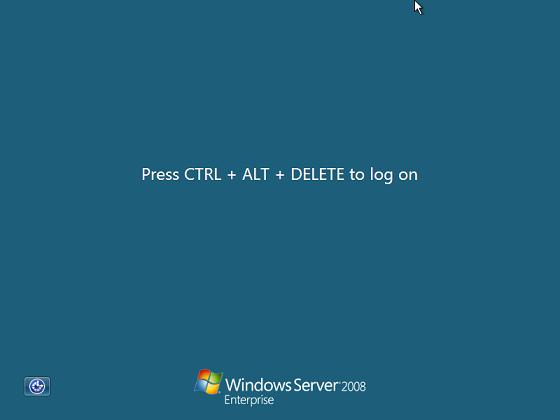
7) The Windows setup will restart the computer after installation and you can login to your new Windows 2008 Server Core installation by typing the key combination ctrl+Alt+delete.
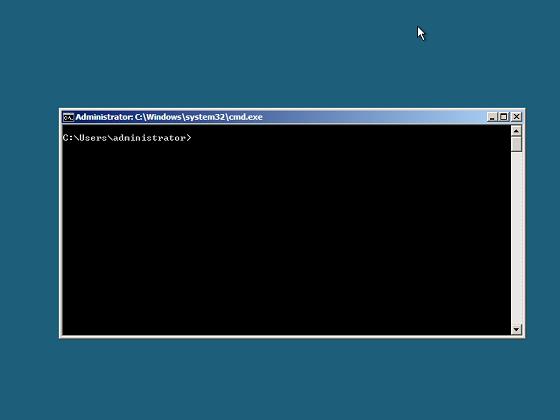
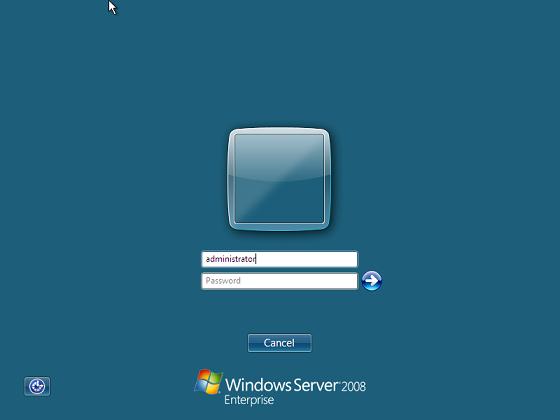
8) To login as Administrator inside new Windows 2008 Server Core installation , enter user id administrator and hit "Enter".
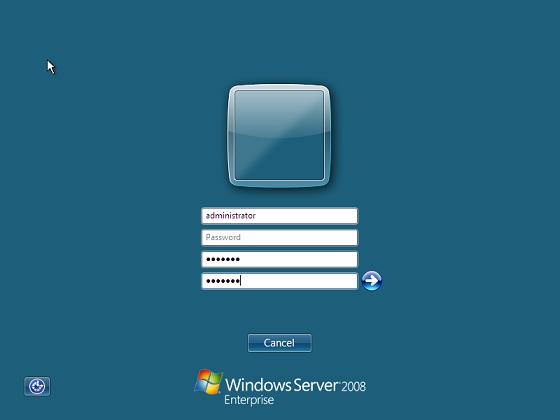
9) Enter new password for Administrator, confirm it and hit "Enter".
10) You are now inside a Windows 2008 Server Core installation and you can now start configuring it.