How to install a Failover Server Cluster
Installing the First Node in the Cluster
When a new cluster is built from scratch, the system on which we start building the cluster the first node in the cluster. After building the first node properly, we can add additional nodes to this cluster. Follow these steps to build the first node. Please remember that the drive "Q" is not a local drive, but it is a remote storage (image file based iSCSI target created using StarWind software. In this example, the drive "Q" is going to be our quorum disk.
1) Shut down both the cluster nodes and and make sure that the iSCSI target server (on which you have installed StarWind software and image file based device) is up and running.
2) Power on the first node, and make sure that the remote iSCSI device which is going to hold the cluster quorum database is mounted as local drive "Q" by using the Microsoft iSCSI Initiator.
3) This node should be a member of Active Directory Domain, it this node is not a member of Active Directory Domain, add this node to domain.
4) Configure network cards in each node with the correct TCP/IP configuration settings. Private network card, which is used only for the cluster communication should have only an IP address and subnet mask configured. Default Gateway, DNS, and WINS should not be configured. Remember to uncheck the Register This Connection's Address in DNS box in TCP/IP properties dialog box.
5) Create a service account in Active Directory for the cluster service. Here I have created an account in Active Directory, "clustuser", using "Active Directory Users and Computers snap-in".
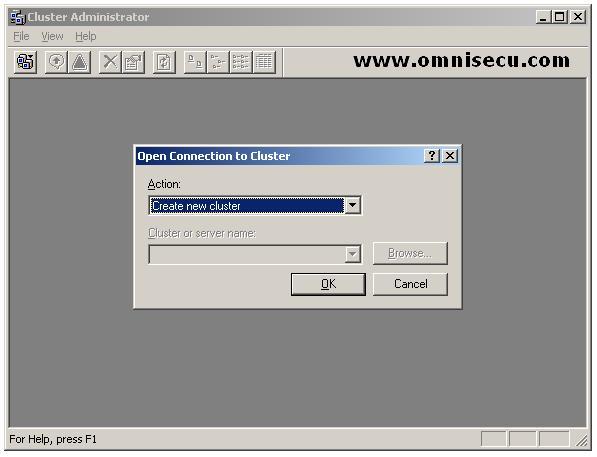
6) Open the Cluster Administrator GUI Tool (Start > Programs> Administrative Tools > Cluster Administrator). Select create new cluster from the combo box, and click "OK".
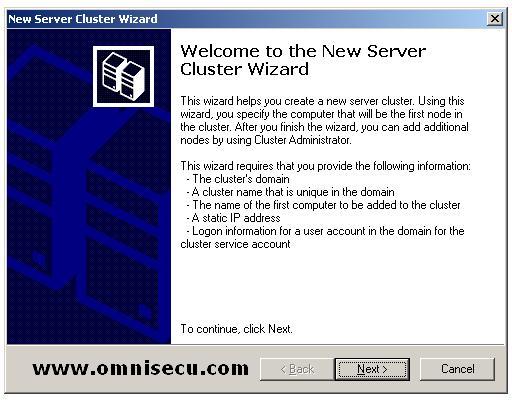
7) In New Server Cluster Wizard (as shown below), click "Next".
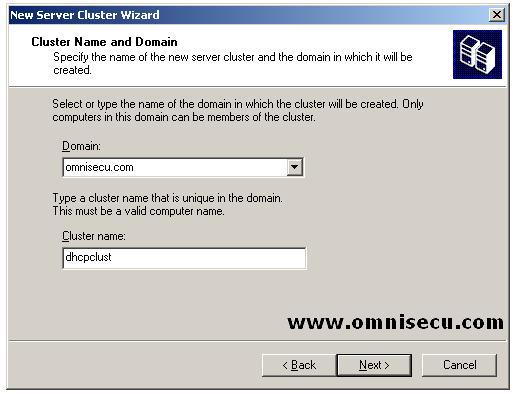
8) In the cluster name and domain screen, enter the Active Directory domain name and also the cluster name. In this example, the Active Directory domain name is omnisecu.com and the cluster name is dhcpclust. Click "Next".
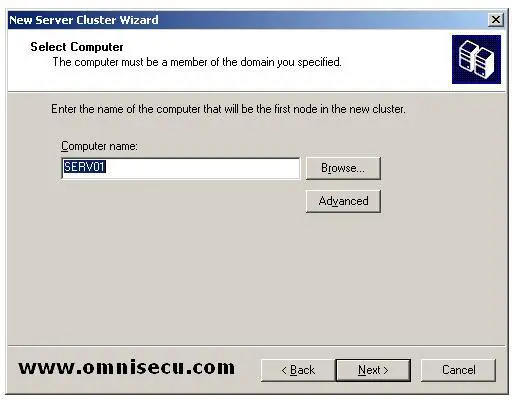
9) Enter the Computer, which is going to be the first node in the cluster. Click "Next"
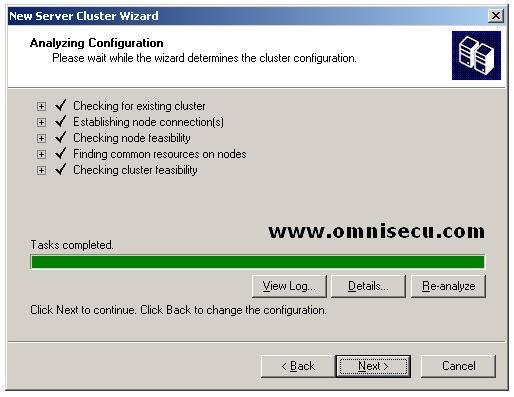
10) The New Cluster wizard will perform necessary checks for the new cluster, and if everything is okay, you can see a screen as shown below. You can view the log by clicking the "View Log" button. Click "Next"
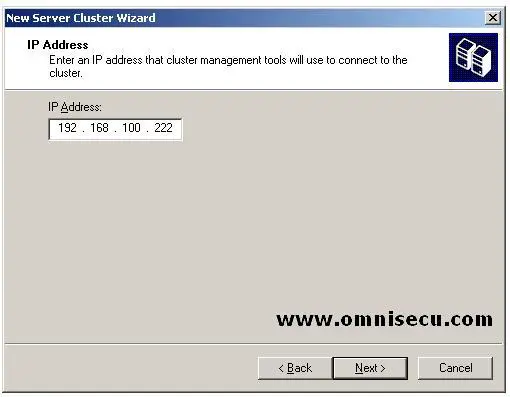
11) Enter the IP Address of the new cluster in the IP Address screen. This IP address will be used by the end users to communicate with the new cluster. Click "Next".
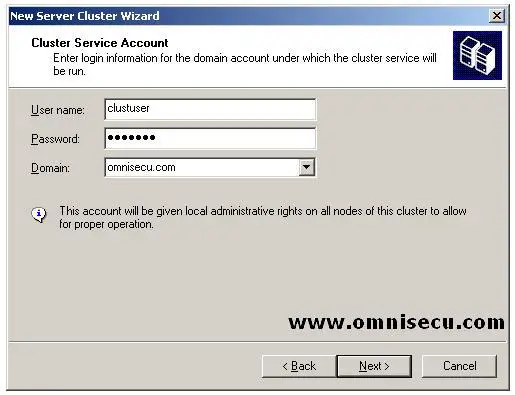
12) Enter the cluster Active Directory service account and password. Click "Next".
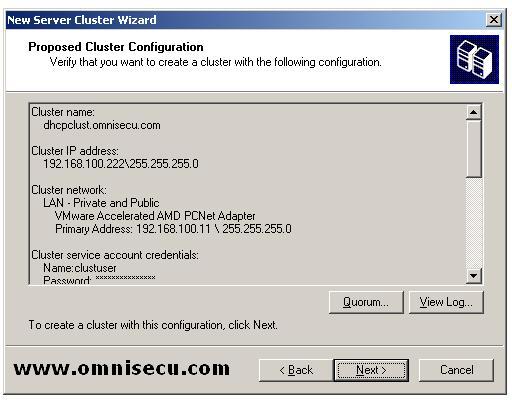
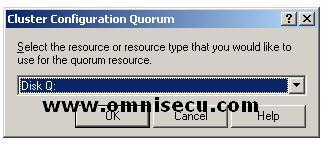
13) In the "Proposed Cluster Configuration" screen, you can verifiy the quorum disk is selected correctly or not, by clicking the "Quorum" button. If the disk selected by the wizard is not the correct quorum disk, you can change the selection here as shown in next image. After verifying the quorum disk, click "Next".
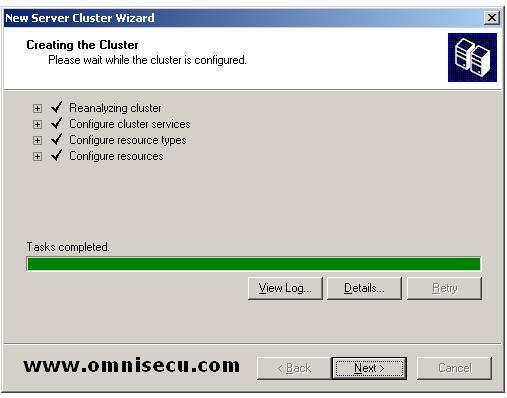
14) The wizard will start configuring the cluster, and you can see the progress bar now. Once the task is completed succesfully, you can see the "task completed" screen, as shown below. Click "Next".
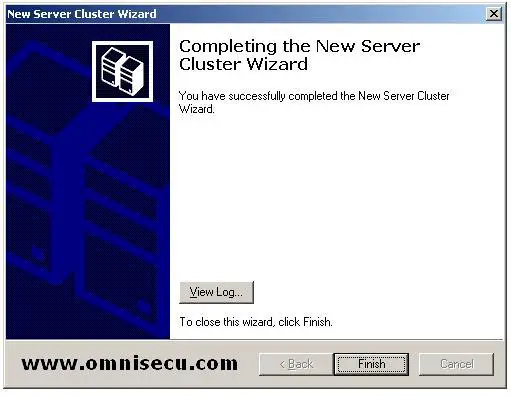
15) In "Completing the New Server Cluster Wizard, Click "Finish".
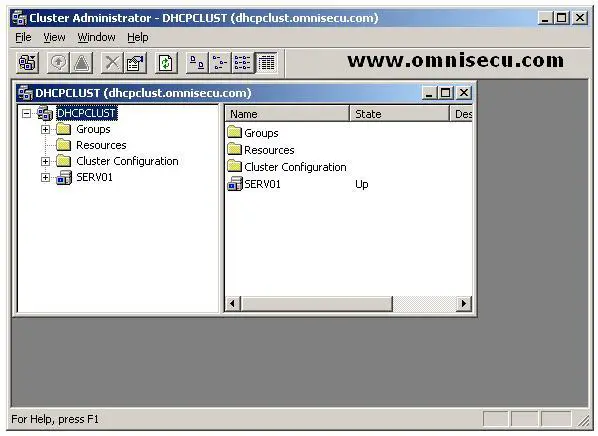
16) You can now see the "Cluster Administrator" GUI tool, with new cluster "dhcpclust" created and the node "SERV01" added as shown below.