How to insert Rows in Excel worksheet
Sometimes you may want to insert new blank Rows in Excel worksheet. This tutorial lesson explains how to insert new blank Rows in Excel worksheet.
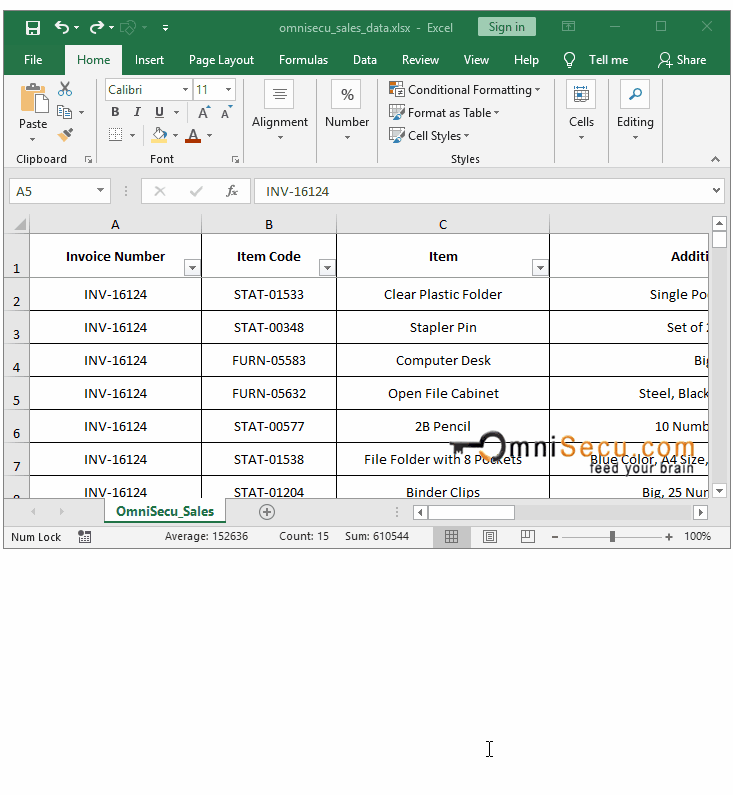
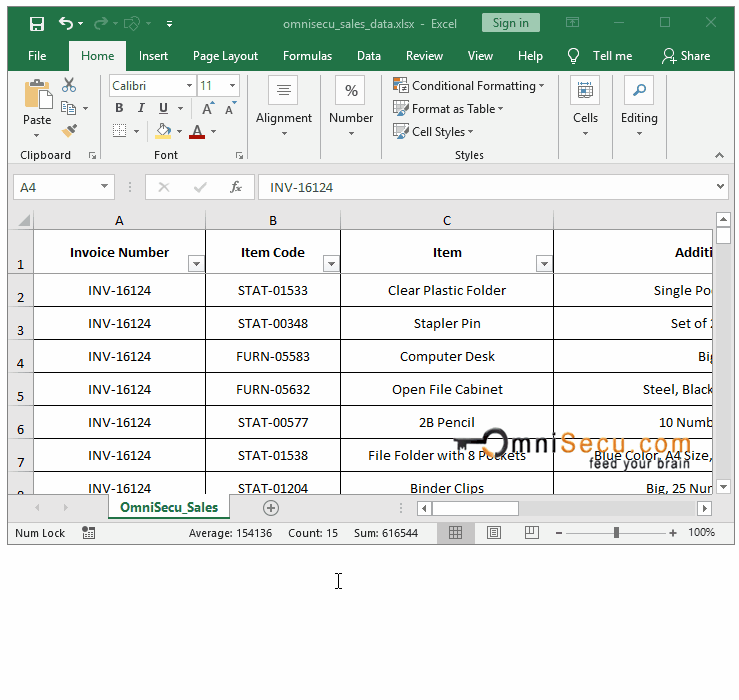
In an Excel Worksheet, there are total 1048576 rows available. When you insert a new Row, the total available number of Rows in Excel worksheet do not change.
If the last Rows (equivalent to the inserted number of Rows) in Excel worksheet are empty, those Rows are removed from the worksheet to accommodate newly inserted Rows.
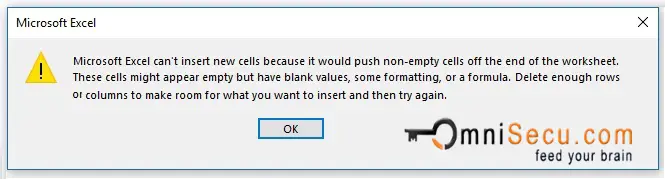
If the last Rows in Excel worksheet are not empty, it is not possible to insert new Rows. If the last Rows in Excel worksheet are not empty and you try to insert new Rows, Excel will display error dialog box as shown in below image.
Method 1 - How to insert a single Row in Excel worksheet
To insert a new blank Row in Excel worksheet, follow below steps.
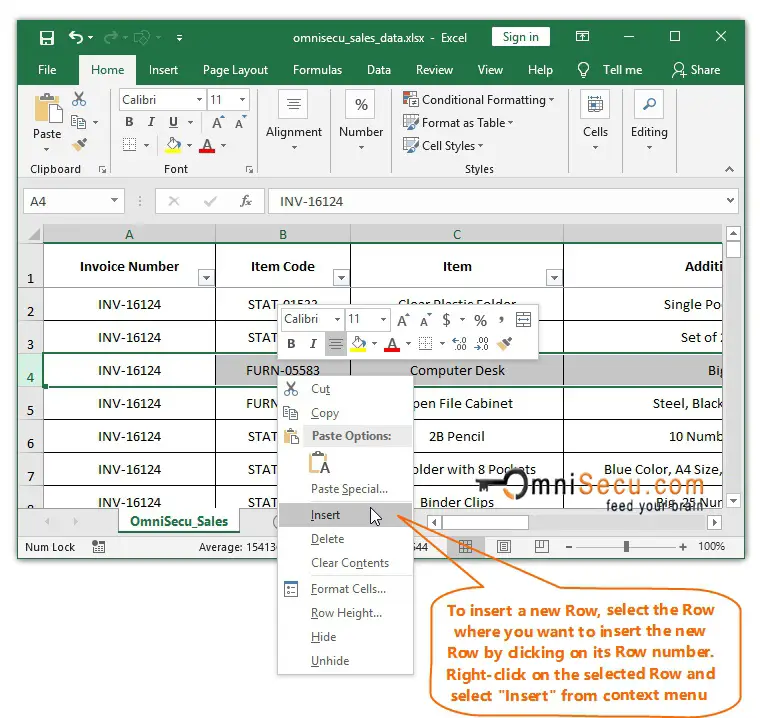
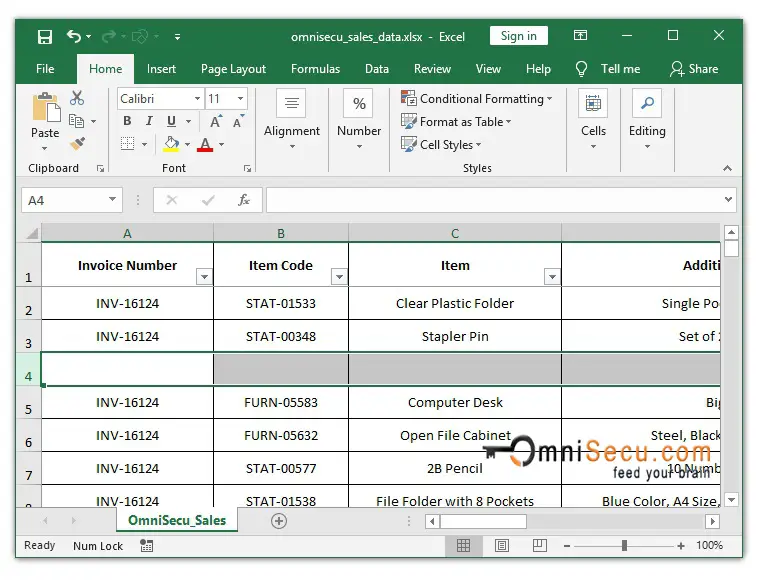
Step 1 - Select the Row where you want to insert the new blank Row by clicking on its Row number. In this example, I want to insert a new blank Row at the location of 4th Row. Hence, I had selected 4th Row.
After selecting the Row where you want to insert new blank Row, right-click on the selected Row and select "Insert" from context menu, as shown in below image.
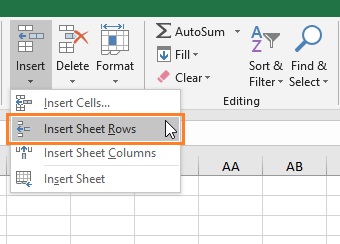
Another way to achieve the same result is by running "Insert Sheet Rows" command from Excel Ribbon > "Cells" Group > "Insert" menu button as shown below.
Step 2 - A new Row is inserted at the location of the selected Row. All the Rows from the location of selected Row are pushed down, as shown in below image. You can see from below image that the existing contents of 4th Row (the Row which we had selected) are pushed down to 5th Row and so on.
Below Animation shows how to insert a new single blank Row in Excel worksheet.
If you want to insert large number of new blank Rows in an Excel worksheet, it is not an efficient method to insert single Rows one by one. If you want to insert large number of Rows, follow any of below methods.
Method 2 - How to insert multiple contiguous Rows in Excel worksheet
To insert multiple new blank contiguous Rows in Excel worksheet, follow these steps.
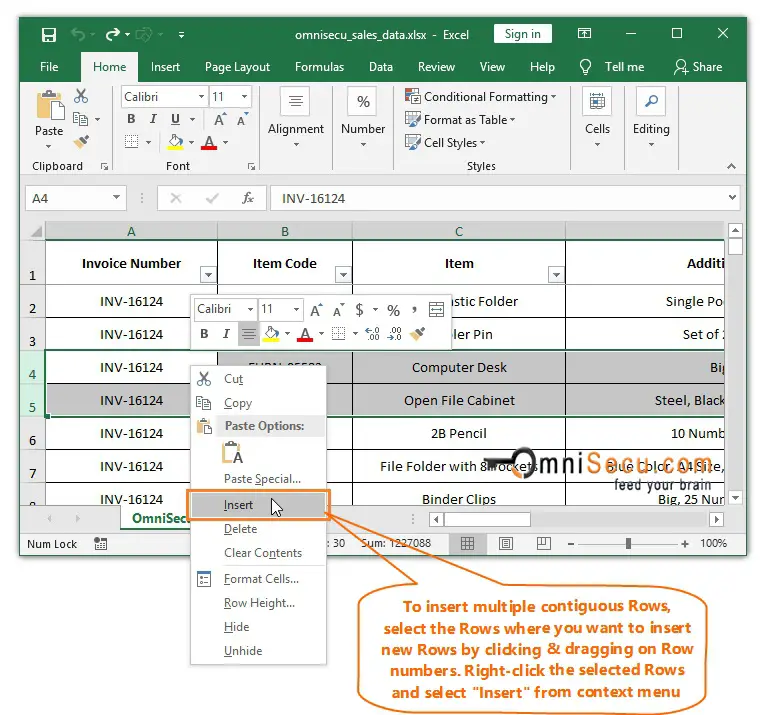
Step 1 - Select the Rows where you want to insert new contiguous Rows by clicking, dragging and releasing mouse pointer on its Row numbers. In this example, I want to insert two new Rows at the location of 4th Row and 5th Row. Hence, I had selected 4th Row and 5th Row.
After selecting the Rows where you want to insert multiple contiguous Rows, right-click on the selected Rows and select "Insert" from context menu, as shown in below image.
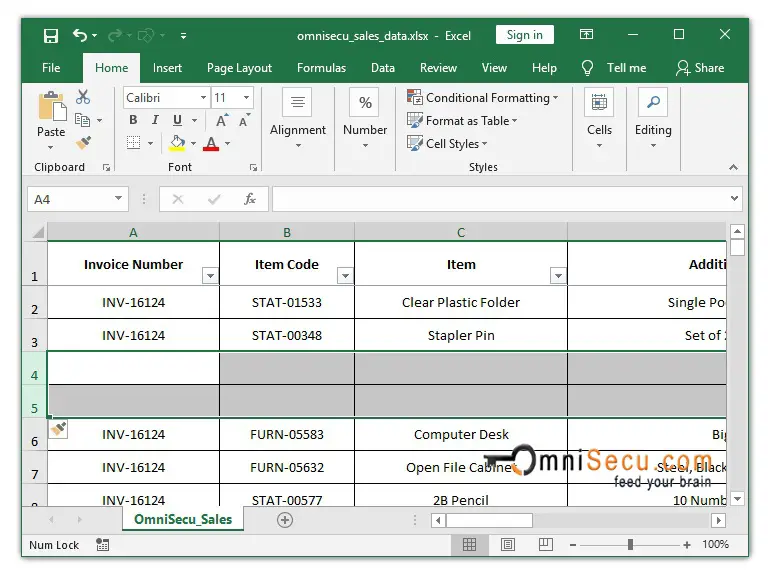
Step 2 - Two contiguous Rows are inserted at the location of the selected Rows. All the Rows from the location of selected Rows and below are pushed down, as shown in below image.
Below Animation shows how to insert multiple contiguous Rows in Excel worksheet.
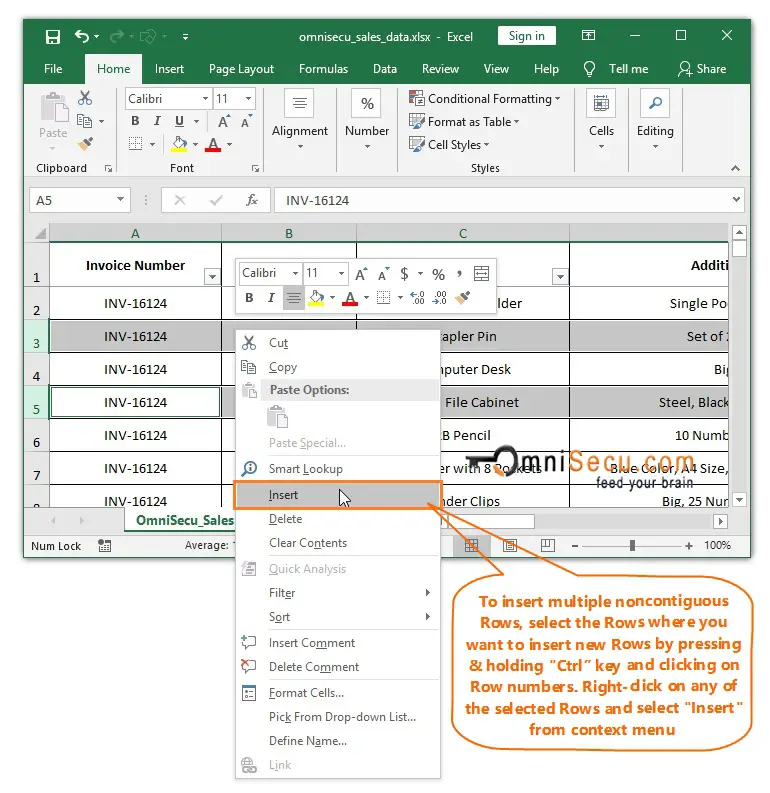
Method 3 - How to insert multiple noncontiguous Rows in Excel worksheet
To insert multiple new blank noncontiguous Rows in Excel worksheet, follow these steps.
Step 1 - Select the Rows where you want to insert new noncontiguous Rows by pressing & holding "Ctrl" key and then clicking on the Row numbers. In this example, I want to insert two new blank noncontiguous Rows at the location of 3rd Row and 5th Row. Hence, I had selected 3rd Row and 5th Row.
After selecting the Rows where you want to insert multiple noncontiguous Rows, right-click on any of the selected Rows and select "Insert" from context menu, as shown in below image.
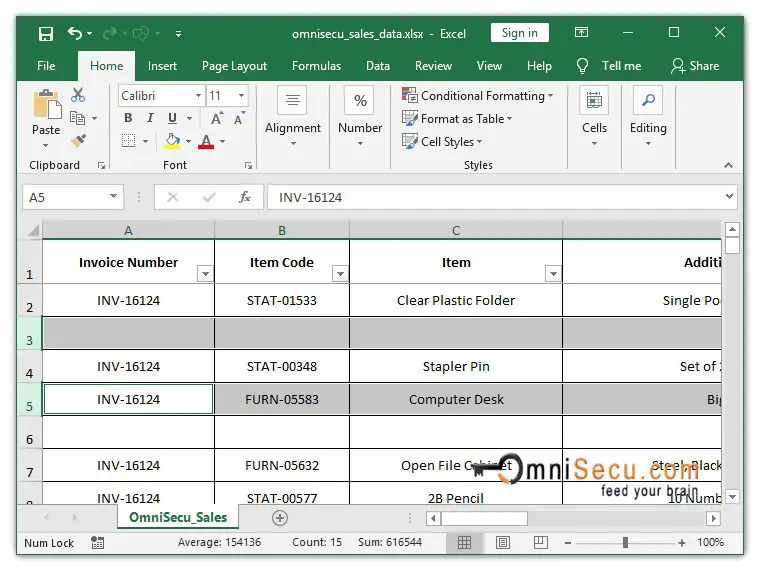
Step 2 - Note that a new blank Row is inserted at the location of 3rd Row. The extisting contents of 3rd Row and 4th Row are pushed down by a single Row to accommodate newly inserted Row at Row number 3. Another new blank Row is inserted at 6th Row and existing contents of 5th Row are pushed down to 7th Row, as shown in below image.
Below Animation shows how to insert multiple noncontiguous Rows in Excel worksheet.