Excel Status Bar explained in detail
The primary job of an application's Status Bar is to display vital information about the application to its user. Similar to other Windows applications, Excel Status bar is located at the bottom of the Excel window as shown below.
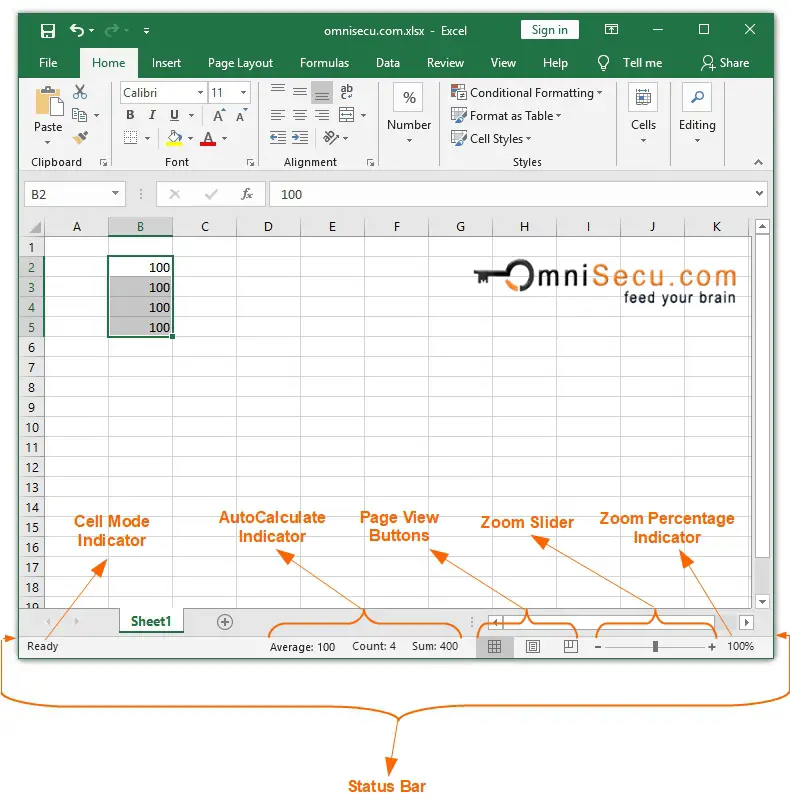
Following are the important information displayed in Excel Status Bar.
Cell Mode Indicator
Cell Mode Indicator displays the cell editing modes of Active Cell. It is located on the left-most side of the status bar as shown in above image.
Four available Cell Modes are explained below.
1) Ready Mode: The "Ready" mode shows that Excel worksheet is ready to accept an input from the user.
Excel Cell Mode status will become "Ready" when
• Excel user is not editing any cell or user is not inserting any data
• Excel user is not editing any defined name
• Excel user is not editing any conditional formatting formula
• Excel user is not editing any chart.
When at "Ready" mode, Excel is waiting for the user input.

Next three modes are Excel input modes. When the user is editing data in a cell, a defined name, a conditional formatting formula, or a chart, the Cell Mode status will become any of the three following modes. 1) Enter mode 2) Edit mode or 3) Point mode
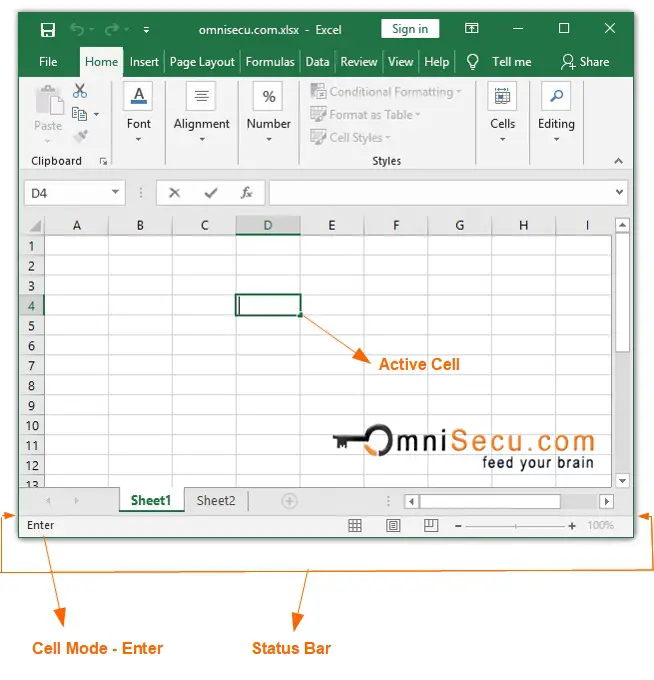
2) Enter Mode: When a user is entering data into a cell, the Cell Mode will become "Enter" mode. By default, Cell Mode will become "Enter" mode, when you double click on a blank (empty) Excel cell with mouse pointer. One more click will change the mode to "Edit" mode.
When at "Enter" mode, you can change to "Edit" mode by typing the function key "F2". You may toggle between "Enter" mode and "Edit" mode by typing the function key "F2".
At "Enter" mode, typing any Arrow key will make the current cell lose its focus as Active Cell. Next cell will become the Active Cell in the direction of the typed Arrow key.
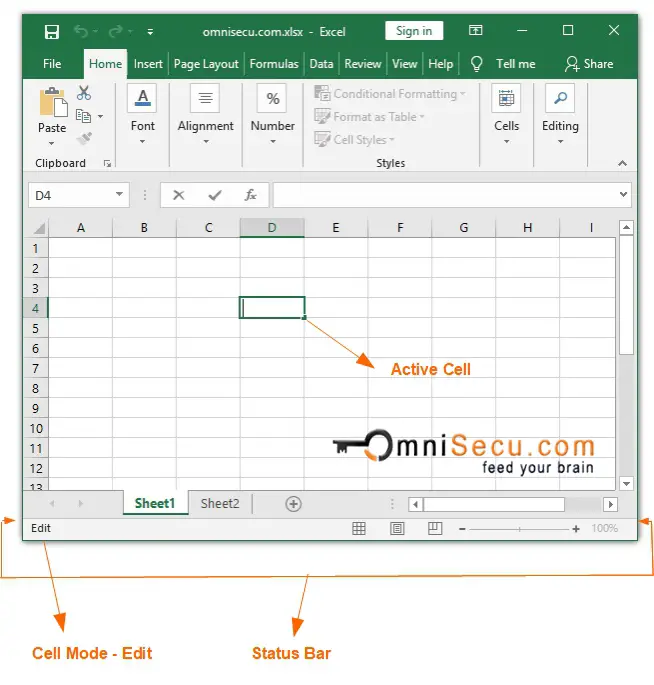
3) Edit Mode: If you type function key "F2" at any Excel cell, the Cell mode will change to "Edit" mode. If you double click on a non-blank (where data is already filled) Excel Cell with mouse pointer, the Cell mode will become "Edit" mode.
At "Edit" mode, typing left or right Arrow keys will make text cursor move left or right within the cell data, in the direction of Arrow key. Up and down arrows have no effect in "Edit" mode.
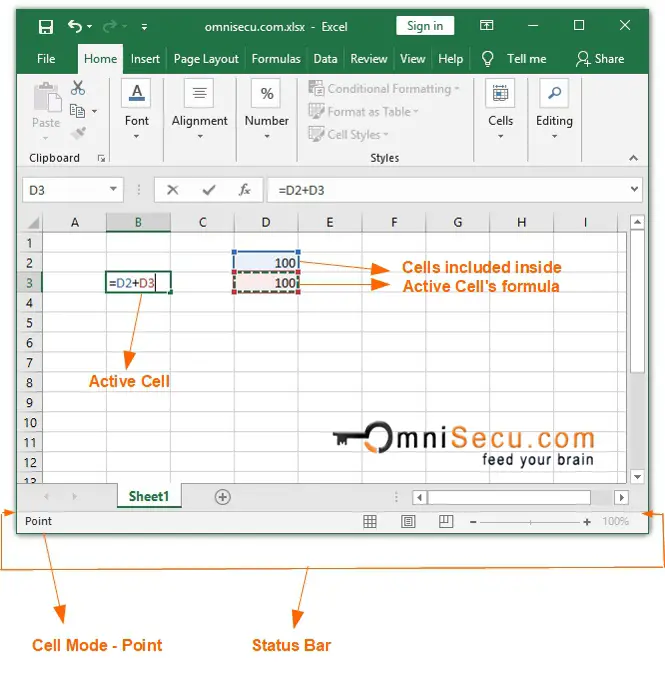
4) Point Mode : Point Mode is also called as formula cell selection mode. The Cell mode status will become Point, when you start typing a formula inside a cell (begining with "=", "+", or "-") and then select the cells that you want to include in that formula.
AutoCalculate Indicator
AutoCalculate Indicator displays AutoCalculate Options. AutoCalculate Indicator is located on the Excel Status bar, as shown in below image. AutoCalculate Options provide a quick summary of numerical data (Sum, Average, Count).
AutoCalculate options are explained below.
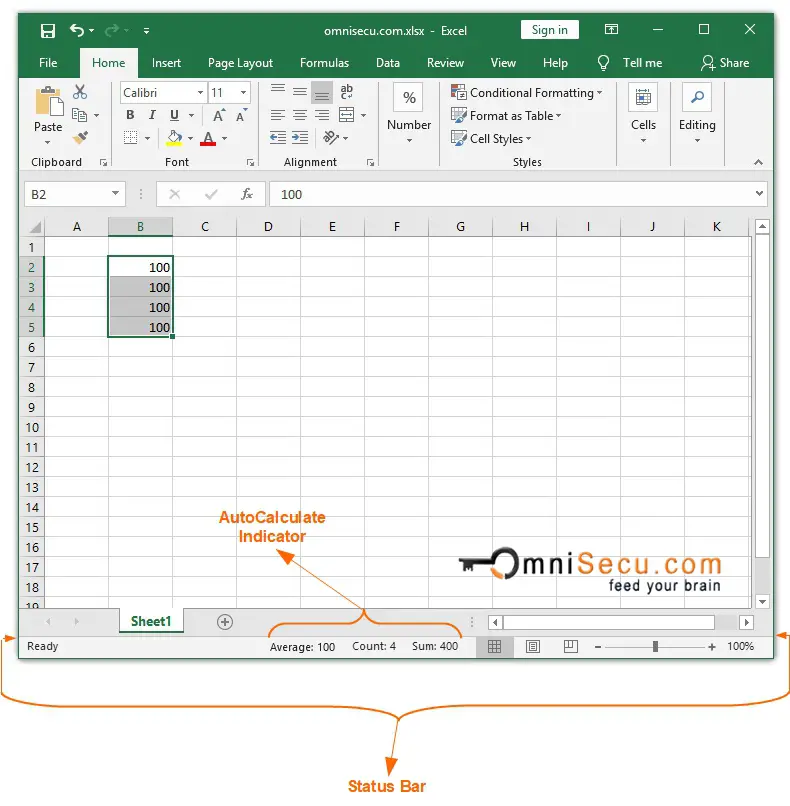
In above image, we have four cells with numeric data 100 in each of it.
1) Average : As shown in the status bar, "Average" is equal to 100 [(100 + 100 + 100 + 100)/4].
2) Count : As shown in the status bar, "Count" is equal to 4, since we have four cells (with data) in the selection.
3) Sum : As shown in the status bar, "Sum" is equal to 400 (100 + 100 + 100 + 100).
Please note the points below.
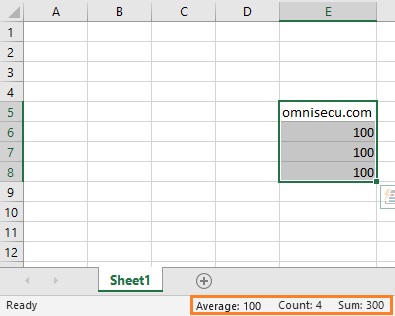
• In Excel 2019, if you have cells with both numeric and text data, Excel will show the "Count" of all cells in the selection including numeric and non-numeric data. "Sum" and "Average" of numeric data is also displayed.
Below image, we have four cells in selection. Three cells with numeric data and one cell with text data. In the status bar, Excel has displayed sum and average of three cells with numeric data, but count of all the four cells.
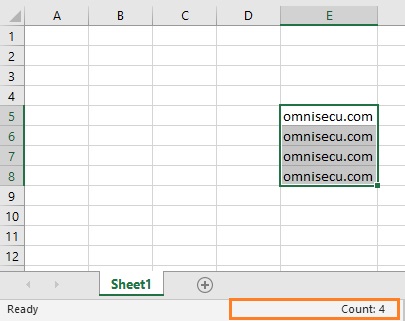
• If you have cells with all text data in the selection, Excel will show only the "Count" value. Average and Sum values have no meaning here and will not be displayed.
Below image, we have four cells in selection. All cells in the selection contain text data only. Excel has displayed only "Count" in this case.
Caps Lock, Num Lock and Scroll Lock Indicators
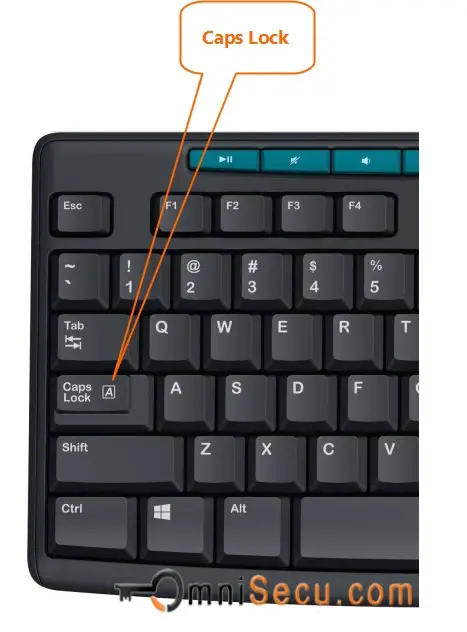
Caps Lock, Num Lock and Scroll Lock Status indicators are very helpful while working with Excel. Caps Lock button in the left of the keyboard allows the user to key-in text in Upper Case.
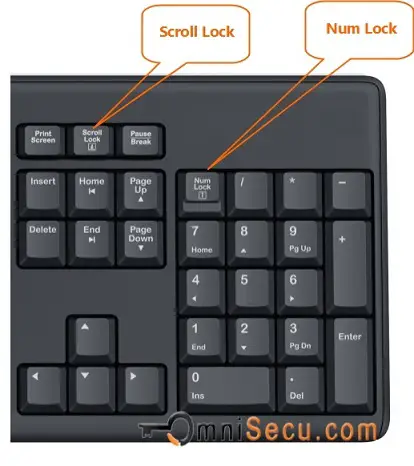
Num Lock button allows the user to toggle the number keys on extreme right-hand side of your keyboard between number and movement keys. When Num Lock key is ON, those keys can be used to key-in numbers. When Num Lock key is OFF, those keys can be used as movement keys.
Scroll Lock button allows the user to scroll the worksheet without changing the Active cell, while using arrow keys for navigation within the Excel worksheet.
Scroll Lock and Num Lock buttons in keyboard are shown below.
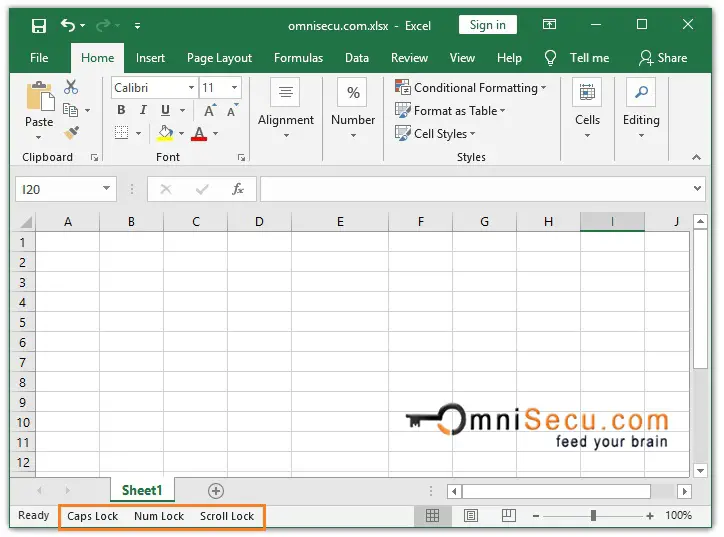
By default, Caps Lock and Num Lock indicators are disabled in status bar and Scroll Lock is enabled.
If Caps Lock Num Lock and Scroll Lock status indicators are enabled in Excel and those keys are "ON" in keyboard, Excel will display those statuses as shown below. These option statuses inform the Excel user that Caps Lock is ON, Num Lock is ON, or Scroll Lock is ON respectively.
End Mode Indicator
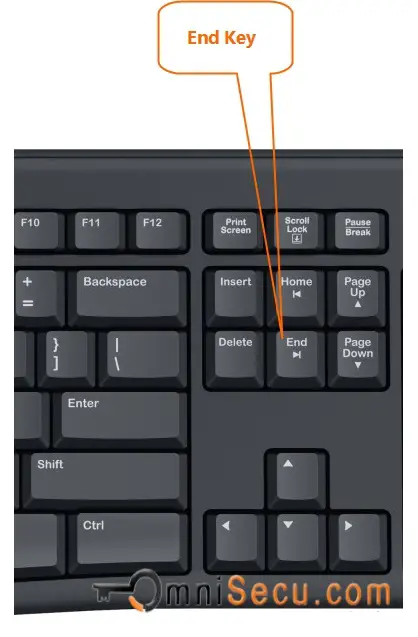
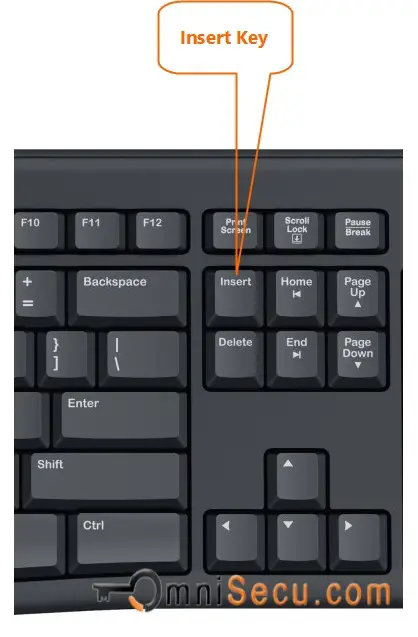
Typing the "End" button enables End mode. End button in keboard is shown below.
Once the End key is typed, the End mode is enabled and it is diplayed in Excel status bar, as shown below.
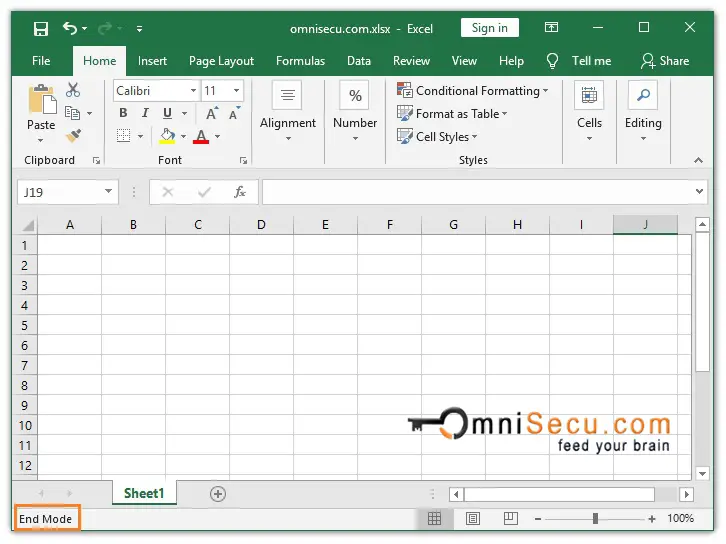
While at "End" mode in Excel, typing any arrow keys allows the Excel user to move to the end of the current region in the direction of the typed arrow key.
"End" mode is automatically switched off once any of the arrow keys is typed. You need to type End key again to use that functionality next time.
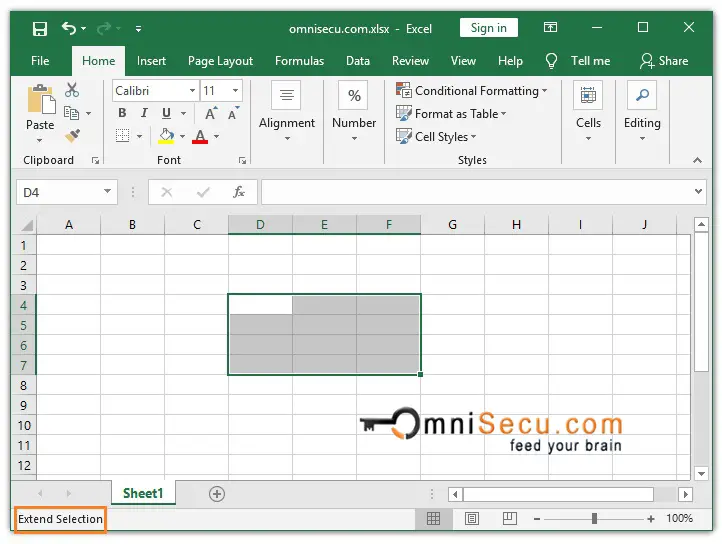
Extend Selection Mode Indicator
Typing the function key "F8" enables "Extended" mode. Normally you select multiple cells by clicking and dragging the mouse pointer over a range of cells. In "Extended" mode you can select a range of cells by using the arrow keys.
You can toggle between "Extended" mode ON/OFF by typing the function key "F8".
Please note that "Extended" mode and "Scroll Lock" mode can not work together. While you are using "Extended" mode, turn OFF Scroll Lock mode.
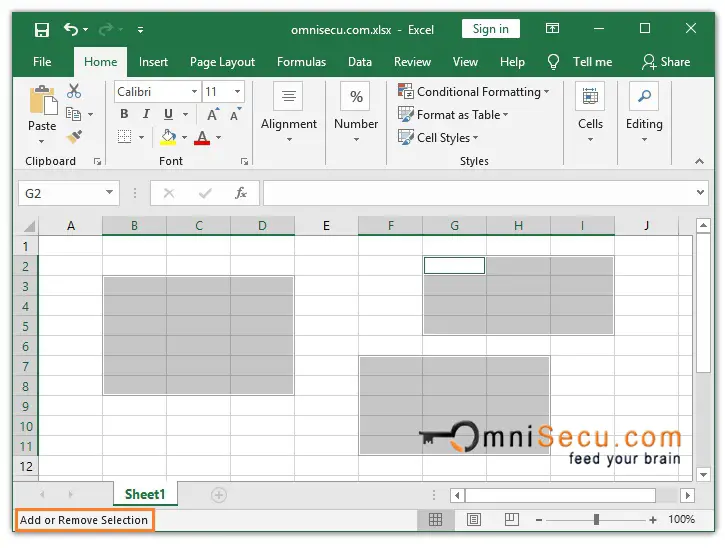
Add or Remove Selection Mode Indicator
Typing Shift + F8 enables "Add or Remove Selection" mode. Normally, you add non-adjacent cells to the selection (called as multiple selection) by pressing Control key and then by clicking & dragging mouse pointer. In "Add or Remove Selection" mode, you can add more cells to the current selection without pressing Control key. You may remove already selected cells by clicking and dragging mouse pointer again over selected cells.
You can toggle between "Add or Remove Selection" mode on/off by typing Shift + F8.
Overtype mode Indicator
Typing "Insert" key enables "Overtype" mode. Overtype mode is similar to insert mode in normal text editors. "Overtype" mode option is disabled by default in Excel status bar.
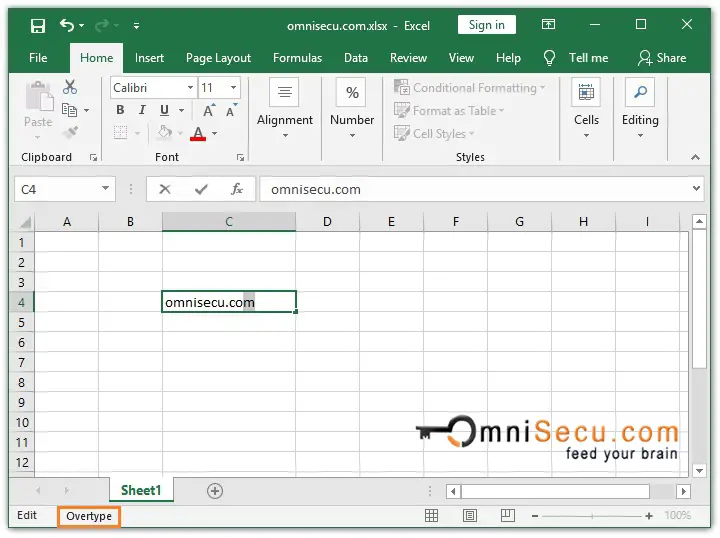
When you key-in a new character in Excel Overtype mode, the newly typed character replaces the existing character at same location.
Below image shows an Excel window where Overtype mode is enabled. The text cursor at character "m" in below image covers the entire character "m". If you type a new character, "m" will be replaced by the newly keyed character.
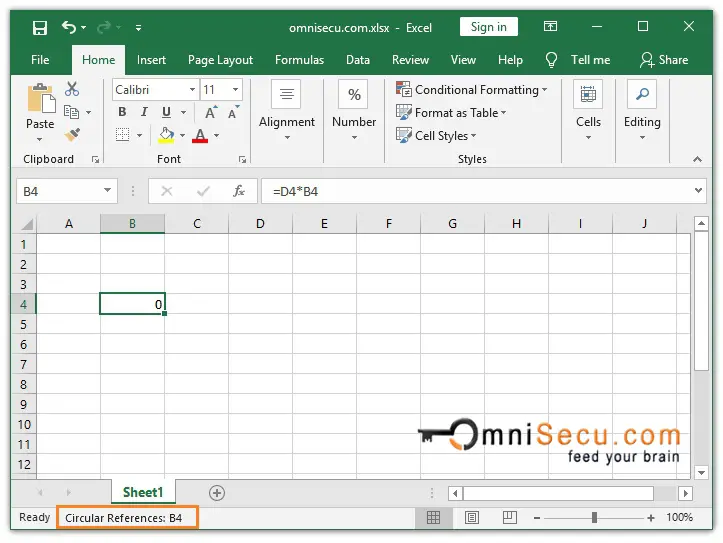
Circular Reference Indicator
While writing formulas inside an Excel cell, you normally refer other cells. But, if you refer the same cell itself inside a formula directly or indirectly, there is a possibility of infinite loop of calculations. This situation is called Circular Reference.
Page View Buttons
Page View Buttons are enabled in Status Bar by default. There are three Page View buttons on the Excel Status Bar, as shown in top-most image. Those buttons are "Normal", "Page Layout", and "Page Break Preview" buttons. Page View Buttons are marked in top-most image.
Page View buttons in status bar are the shortcuts for "Normal", "Page Layout", and "Page Break Preview" buttons available on Ribbon > View Tab > Workbook Views group.
"Normal" is the default view of Excel worksheet. Page Layout view displays Excel worksheet as individual pages. "Page Break Preview" allows the user to adjust page breaks manually.
Zoom Slider Control and Zoom Percentage indicator
Zoom Slider Control and Zoom Percentage indicator are located at right-most part of Excel Status Bar, as shown in top-most image. Zoom Slider Control allows Excel users to alter the magnification level of Excel worksheet. Zoom Percentage indicator displays the percentage of current level of magnification of Excel worksheet.
Maximum possible Zoom percentage of a Excel 2019 worksheet is 400% and minimum Zoom percentage is 10%.
Zoom Slider Control and Zoom Percentage indicator are marked in the top-most image.
Click the following link to learn Excel Status Bar in brief